Download presentation
Presentation is loading. Please wait.

1
Ubiquitous Computing Practice (Introduction)
Youn-Hee Han, In-Seok Kang {yhhan, Laboratory of Intelligent Networks Advanced Technology Research Center Korea University of Technology

2
Contents Introduction Arduino 개발환경 Arduino & Processing Language
실습 재료 Arduino 개발환경 Arduino & Processing Language

3
실습 재료 아두이노 인벤터킷, Humidity sensor Xbee module, shield
RFID module, shield 실습 재료

4
아두이노 인벤터킷

5
아두이노 인벤터킷

6
Xbee module, Shield 확장쉴드 결합 상태

7
RFID module, Shield, Tag RFID Tag RFID Evaluation Shield - 13.56MHz
RFID Module - SM130 Mifare

8
Arduino 아두이노 ( Arduino ) Arduino UNO board
Arduino 는 이탈리어이고 영어로는 Best Friend 아두이노는 오픈소스를 기반으로한 마이크로 컴퓨터 AVR 계열의 칩셋을 사용 (atmege328) USB로 간단히 컴파일하고 업로드 할 수있다. 멀티 플랫폼 지원 ( Windows, Mac, Linux 지원) Processing 이라는 언어사용 ( Java, C 언어와 유사) 프로그래밍 코드를 Sketch 라고 한다 Arduino UNO board
 USB로 간단히 컴파일하고 업로드 할 수있다. 멀티 플랫폼 지원 ( Windows, Mac, Linux 지원) Processing 이라는 언어사용 ( Java, C 언어와 유사) 프로그래밍 코드를 Sketch 라고 한다. Arduino UNO board.")
9
Arduino Arduino board Arduino IDE Open Source

10
Arduino UNO R2 board Arduino is a small computer!
Small computer with microcontroller (ATmega328 microcontroller ) Arduino 보드는 현재 전세계에서 가장 널리 사용되고 있는 오픈소스 기반의 피지컬 컴퓨팅 플래폼입니다. 하드웨어적,소프트웨어적 전문 지식이 없이도 누구나 쉽게 배우고 사용할 수 있도록 개발되어 이미 전세계 적으로 수많은 아티스트, 디자이너, 그리고 인터렉션 오브제, 환경에 관심이 있는 사람들에게 널리 보급되어 사용되고 있습니다. Arduino 보드는 간단한 I/O 보드와, Processing/Wiring 언어를 이용한 개발 환경을 기반으로 하고 있습니다. 컴퓨터나 다른 기기와 연결되지 않고서도 독립적으로 작동하여, interactive object를 개발하는데 효과적이며. 또한 Flash, Processing, Max/MSP, Pure Data과 같은 소프트웨어와 쉽게 연동되어 스크린 베이스의 미디어 작품에도 쉽게 연동하여 사용할 수 있습니다.
 Arduino 보드는 현재 전세계에서 가장 널리 사용되고 있는 오픈소스 기반의 피지컬 컴퓨팅 플래폼입니다. 하드웨어적,소프트웨어적 전문 지식이 없이도 누구나 쉽게 배우고 사용할 수 있도록 개발되어 이미 전세계. 적으로 수많은 아티스트, 디자이너, 그리고 인터렉션 오브제, 환경에 관심이 있는 사람들에게 널리 보급되어. 사용되고 있습니다. Arduino 보드는 간단한 I/O 보드와, Processing/Wiring 언어를 이용한 개발 환경을 기반으로 하고 있습니다. 컴퓨터나 다른 기기와 연결되지 않고서도 독립적으로 작동하여, interactive object를 개발하는데 효과적이며. 또한 Flash, Processing, Max/MSP, Pure Data과 같은 소프트웨어와 쉽게 연동되어 스크린 베이스의 미디어. 작품에도 쉽게 연동하여 사용할 수 있습니다.")
11
Features ATmega328 microcontroller Input voltage: 7-12V
14 Digital I/O Pins (6 PWM outputs) 6 Analog Inputs 32k Flash Memory 16Mhz Clock Speed
 6 Analog Inputs. 32k Flash Memory. 16Mhz Clock Speed.")
12
Arduino UNO R2 R3 USB 인터페이스칩 변경 헤더 핀 3개 추가 Reset 버튼 위치 변경
Atmega8u2 에서 Atmega16u2 로 변경 헤더 핀 3개 추가 I2C 헤더 소켓 2개 추가 IOREF 헤더 소켓 1개 추가 Reset 버튼 위치 변경

13
Arduino UNO R3

14
Arduino Mega 2560 아두이노 UNO 보드 의 고성능 버전 ATMega328 을 ATMega2560 으로 변경
메모리 용량 8배 증가 디지털 입출력 핀 54개로 증가 아날로그입력 16개로 증가 기본사양: 54 Digital I/O Pins (14 PWM outputs) 16 Analog Inputs 4 UARTs(하드웨어 시리얼 포트) 256KB Flash MemorySRAM 8KB EEPROM 4KB 16Mhz Clock Speed
 16 Analog Inputs. 4 UARTs(하드웨어 시리얼 포트) 256KB Flash MemorySRAM 8KB. EEPROM 4KB. 16Mhz Clock Speed.")
15
Arduino Pro 328 아두이노 UNO에 기본 장착된 USB변환기 등을 제거하여 경제적으로 사용할 수 있는 버전(전문가용) 프로그래밍을 위해 USB to Serial 변환기가 필요 기본사양: 14 Digital I/O Pins (6 PWM outputs) 6 Analog Inputs 32k Flash Memory 16Mhz Clock Speed
 6 Analog Inputs. 32k Flash Memory. 16Mhz Clock Speed.")
16
Arduino Pro Mini 328 아두이노 프로에서 크기를 축소한 보드 18 ×33𝑚𝑚 의 크기 기본사양:
14 Digital I/O Pins (6 PWM outputs) 6 Analog Inputs 32k Flash Memory 16Mhz Clock Speed
 6 Analog Inputs. 32k Flash Memory. 16Mhz Clock Speed.")
17
LilyPad Arduino 328 원형모양의 보드로 전도성 실을 이용하여 바느질을 하여 회로를 구성
예술작품 및 미적 완성도를 위한 디자이너를 위한 보드 기본사양: 14 Digital I/O Pins (6 PWM outputs) 6 Analog Inputs 32KB Flash Memory 8Mhz Clock Speed
 6 Analog Inputs. 32KB Flash Memory. 8Mhz Clock Speed.")
18
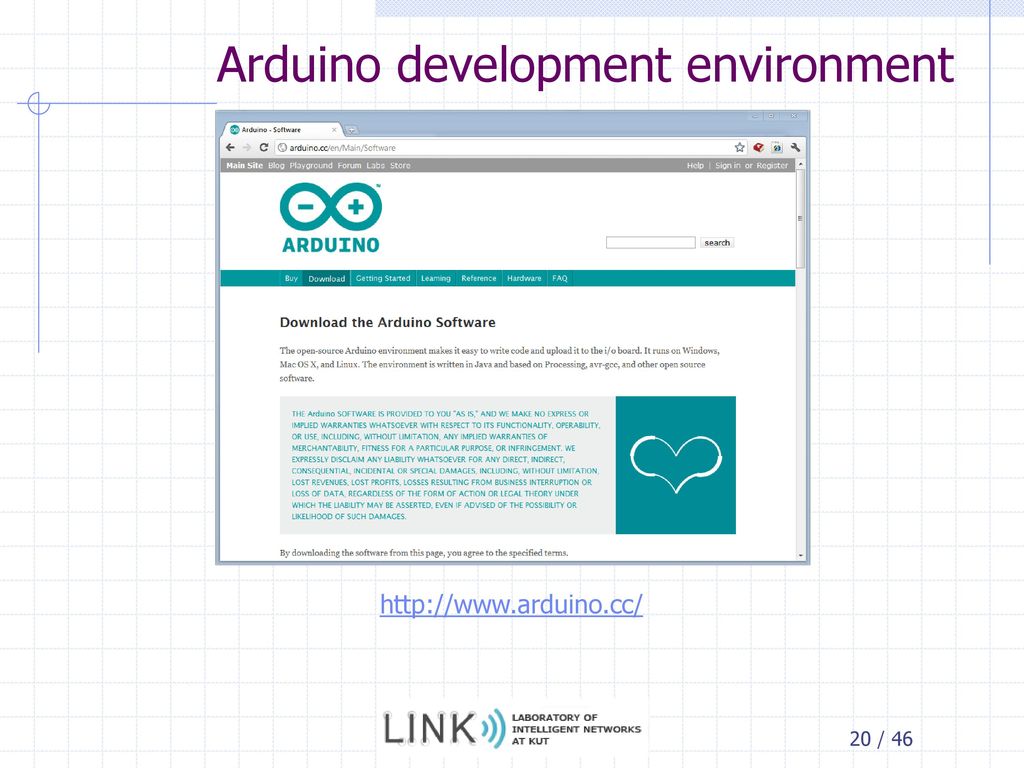
개발환경 구축 및 IDE 사용법 드라이버 설치 Arduino 개발환경

19
IDE sketch Processing 언어에 기반을 둔 프로그래밍 언어

20
Arduino development environment
21
Arduino development environment

22
Arduino development environment

23
Arduino IDE Verify (Compile) Upload (to Arduino Board) Serial monitor
 Upload (to Arduino Board) Serial monitor")
24
Arduino IDE Verify / Compile Upload New Open Save Serial Monitor
작성한 프로그램 코드가 제대로 되었는지 확인해주고, 이상이 없으면 컴파일이라는 과정을 통해 기계가 이해할 수 있는 언어로 바꿔준다. Upload Verify로 오류도 없고, 기계가 이해할 수 있는 언어로 바뀐 코드를 아두이노 보드로 보내주는 기능이다. New 새로운 스케치 작업을 할 때 사용한다. Open 기존에 작성된 스케치를 열 때 사용한다. Save 지금 작성하고 있는 스케치 즉 프로그램 코드를 저장한다. Serial Monitor 시리얼로 보내고 받는 값을 확인할 때 사용한다.

25
Arduino development envionment
USB B type USB A type USB2.0 A-B Cable

26
Arduino development envionment
USB B type USB A type

27
Arduino development envionment

28
Arduino development environment

29
Arduino & Processing Language

30
Processing Processing 은 오픈 소스 프로젝트로 MIT 미디어 연구소에서 시작 되었다. (by Casey Reas, 벤자민 프라이) Processing is an open source programming language and environment for people who want to create images, animations, and interactions.

31
Arduino

32
Wiring

33
Arduino Basic Structure
void setup() { // Do initialization : Executed only once } void loop() { // Loop : Continuously executed
 { // Do initialization : Executed only once } void loop() { // Loop : Continuously executed")
34
Example - Blink Sketch void setup() {
// initialize the digital pin as an output. // Pin 13 has an LED connected on most Arduino boards: pinMode(13, OUTPUT); } void loop() { digitalWrite(13, HIGH); // set the LED on delay(1000); // wait for a second digitalWrite(13, LOW); // set the LED off
; } void loop() { digitalWrite(13, HIGH); // set the LED on. delay(1000); // wait for a second. digitalWrite(13, LOW); // set the LED off.")
35
Reference Structure Functions Variables setup() loop()
pinMode (pin, mode) – 사용 할 디지털 pin 번호, 사용 모드 digitalWrite (pin, value) – pin 번호에 value 값 출력 delay(ms) – millisecond 사용 ex) delay(1000) 1sec delay Variables HIGH, LOW, INPUT, OUTPUT
 – 사용 할 디지털 pin 번호, 사용 모드. digitalWrite (pin, value) – pin 번호에 value 값 출력. delay(ms) – millisecond 사용 ex) delay(1000) 1sec delay. Variables. HIGH, LOW, INPUT, OUTPUT.")
36
Example - Blink Click Verify(compile) and check error
Check if Arduino is connected Click Upload While uploading code to Arduino, you will see fast blinking lights on TX and RX LEDs 4. Code will start running soon

37
Example - Blink

38
도전과제

39
How about two LEDs?

40
Appendix. 드라이버 설치

41
Driver install 윈도우 시작 > 제어판 > 장치관리자
장치리스트에서 Arduino UNO 장치 선택 후 우 클릭 드라이버 업데이트 선택

42
Driver install

43
Driver install

44
Driver install

45
Driver install

46
Driver install

Similar presentations


 7월 27일(금) 7월 28일(토) 7월 29일(일)>")


 16:00.>")


>")


